Create and Update User Group
Instructions
- Sign into your account.
- Select the desired tenant.
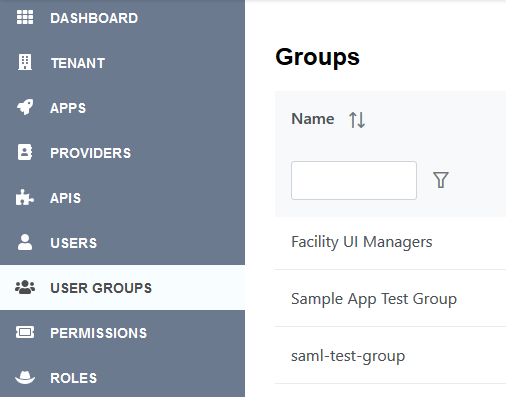
- Go to the “USER GROUPS” section on the left top side of the screen.
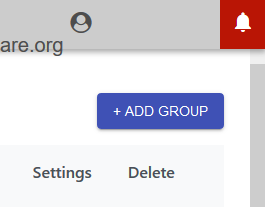
- All the way on the right, click on the ADD GROUP button.
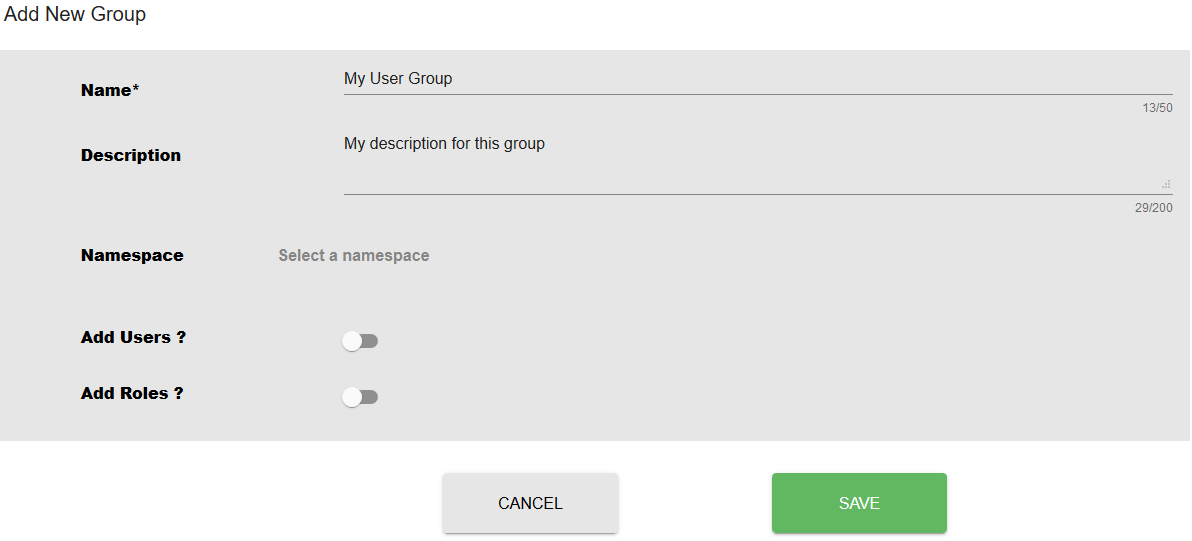
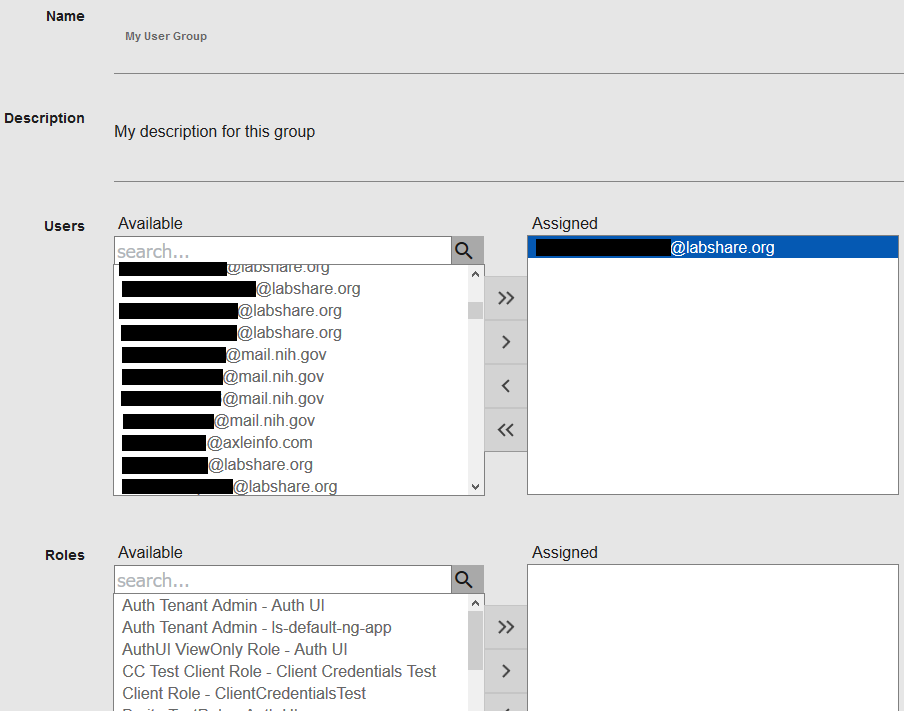
- In Name and Description, give this user group a name (e.g. My User Group) and a description.
- Users and roles can be added now. However, we’ll do that in the next section.
- Click the SAVE button.
- Go to USER GROUPS again.
- Click on the Settings icon for the desired user group.

- Scroll through the list of available users and pick the users that you want to assign.
- Click on the > button to make the assignment.
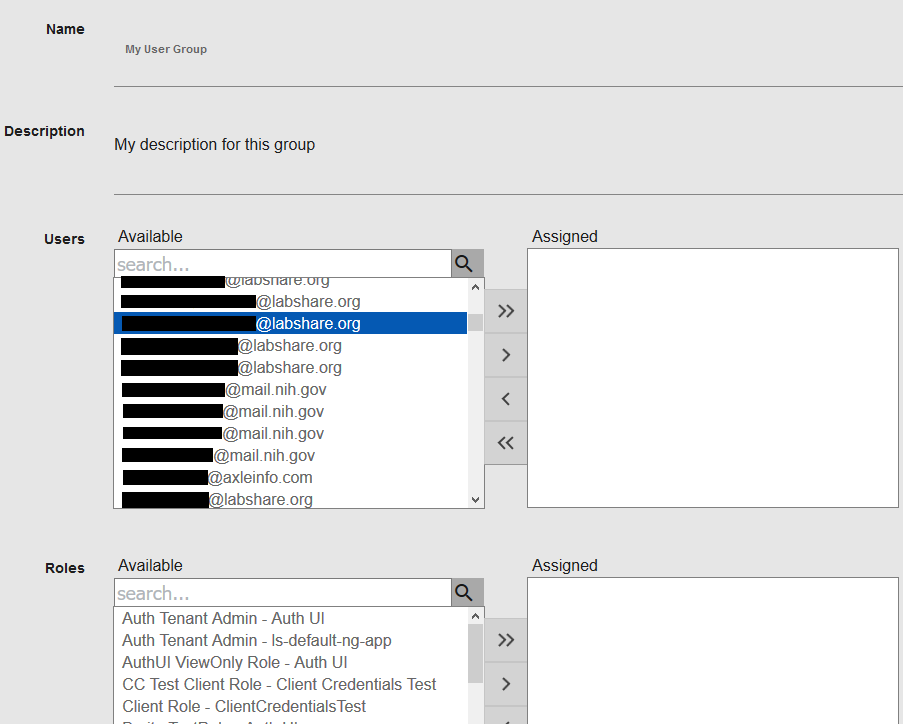
- Repeat for the desired available roles.
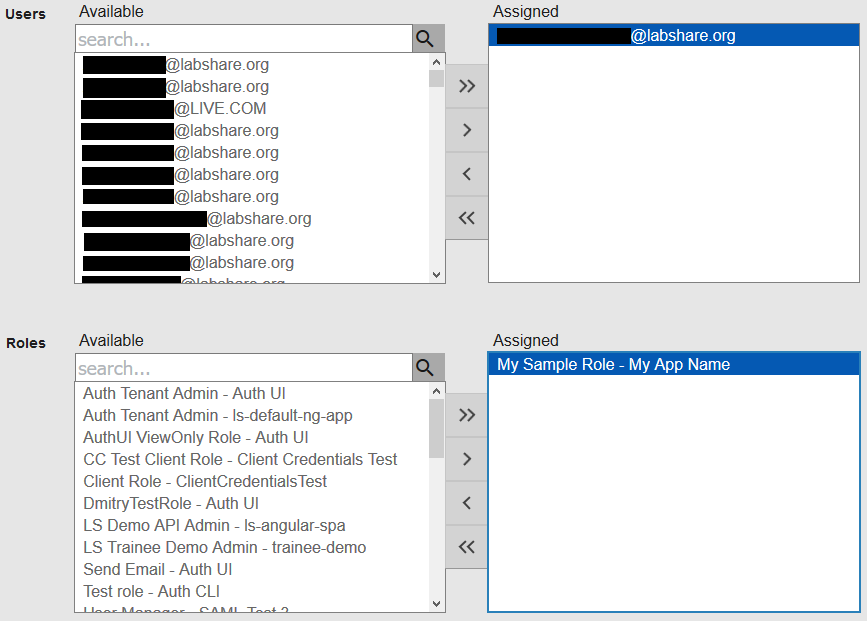

- Look at the user group. There is a column for the number of assigned users and roles. You’ll notice that these numbers have now increased.


