Create New Tenant
Instructions
- Sign into your account.
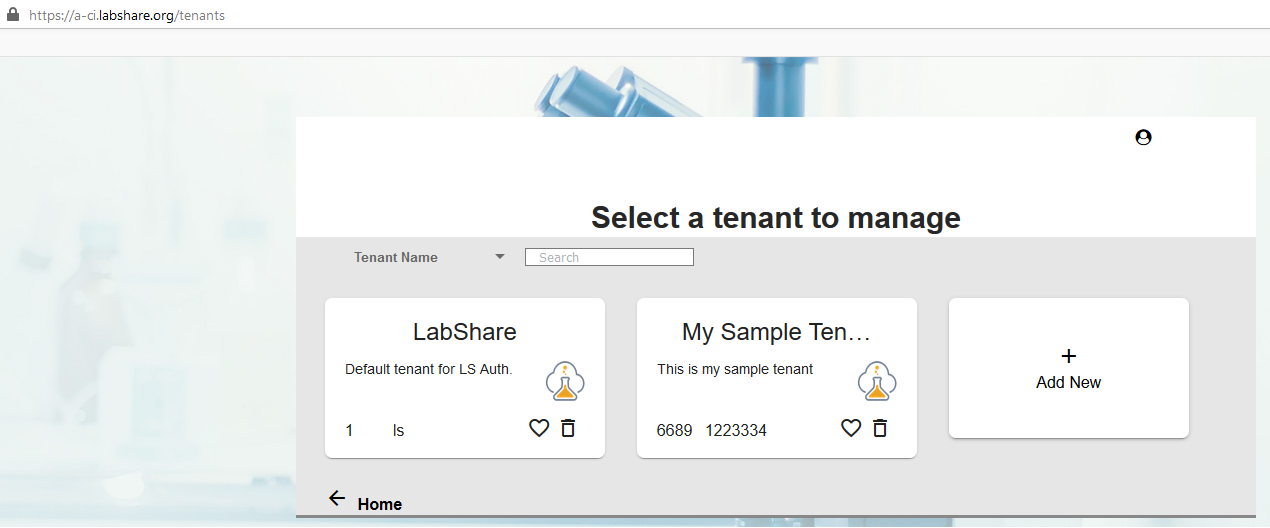
- Select one of the tenants.
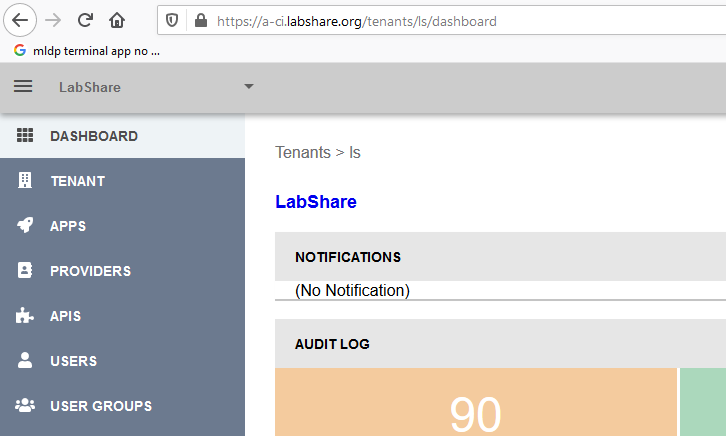
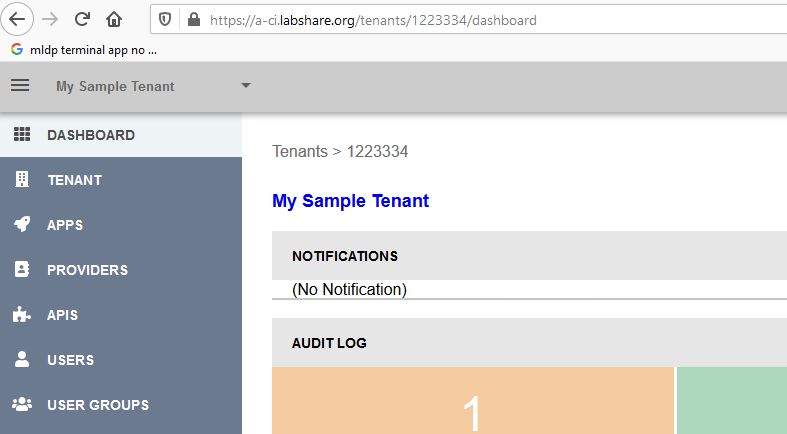
- Go to the “DASHBOARD” section on the left top side of the screen.
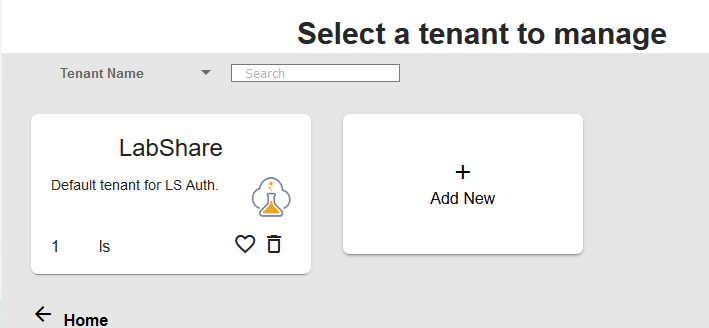
- Click on “Tenants” link.
- Click on “+Add New”.
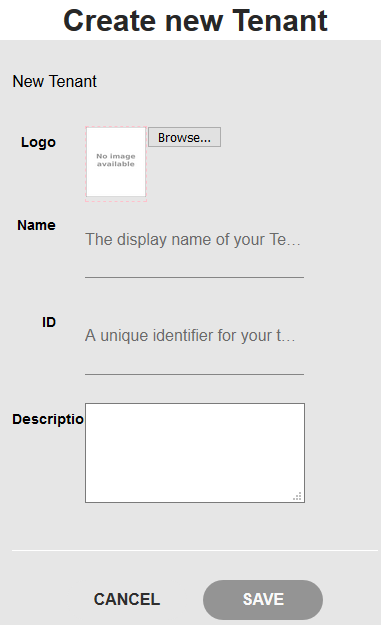
- Browse your computer for a .png logo image.
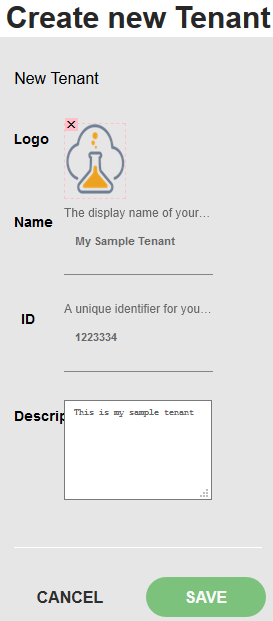
- Write the display name for this tenant, e.g. “My Sample Tenant”.
- Write the unique identifier for this tenant, e.g. “ls”, “12334”, or anything else that’s unique.
- Write the description for this tenant, e.g. “Some meaningful description”.
- When ready, click on SAVE button..
- You can now see the newly created tenant.
- Click on the new tenant.
- You’ll be back in the DASHBOARD with the new tenant.
What’s Next?
Create or import a Client App
- Now we need to create a new client application or import one from an existing one.
- This configuration will be done in the APPS section.
Allow the Client App to Access a Resource Server
- Now we need to configure the client to use a resource server.
- This configuration will be done in the APIS section.
Create Necessary Permissions
- We’ll need to make sure the permissions are correct for the client application. These permissions are needed for things like sending email, accessing the list of users, etc.
- Create the necessary permissions in the PERMISSIONS section.
Add Permissions to new or existing Roles
- Permissions don’t function by themselves. They need to be combined into roles. Permissions can be assigned to an existing role, or a new role can be created for the given client application.
- To create a new role or to update an existing role, go to the ROLES section.
Add Users and Roles to new or existing User Groups
- We’ll need to add the necessary users (e.g. an email address) and roles to a user group. This user group will then be linked with the client application.
- To create a new user group or to update an existing user group and add users and roles, go to the USER GROUPS section.
