Table of Contents
- What is UMRS?
- What Does This Demo App Do?
- Navigating the Home Page
- Navigating the Folders Layout
- Patient Folders
- Study Folders
- My Invitations
- My Requests
- ADMIN: Manage Requests
What is UMRS?
UMRS stands for User-Managed Resource Sharing, and it is a way to control who is authorized to view data within a particular application. It ensures that particular users are only able to view particular data when permission has been granted.
What Does This Demo App Do?
This app demonstrates the capabilities of UMRS functionality, including:
- Requesting access to data
- Inviting another user to access data
- Viewing requests you have made to access data
- Viewing invitations you have received to access data
- Viewing invitations sent to you to access data
- Accepting and requesting requests to access data
- Viewing who has access to data
Navigating the Home Page
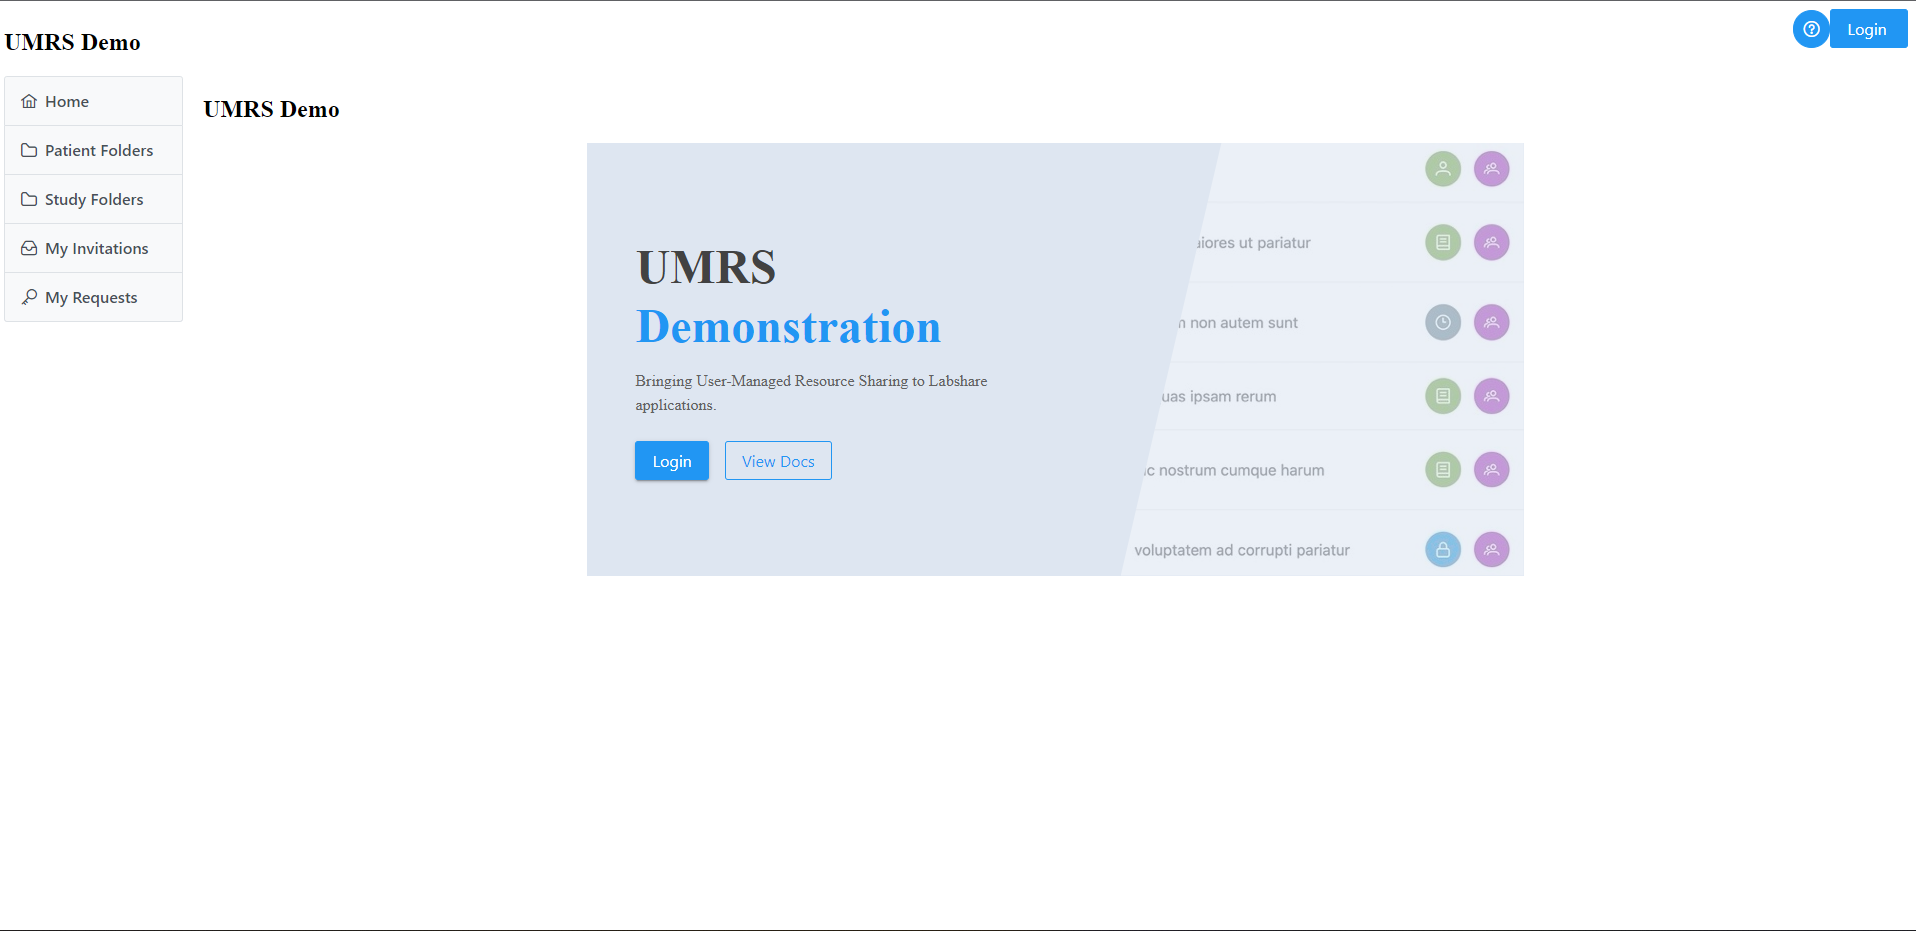
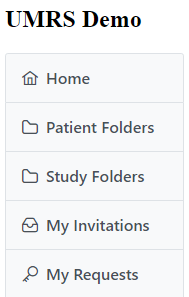
The home page displays a menu of options on the left-hand side of the screen for:
- Home
- Patient Folders
- Study Folders
- My Invitations
- My Requests
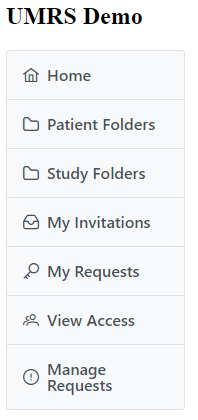
If the user is logged in as a manager, they will also be able to see “View Access” and “Manage Requests” options in the menu.
Navigating the Folders Layout
View Folder Contents
- Click on the “>” icon next to the name of the folder you want to view.

- The folder will open and display the items in the folder.
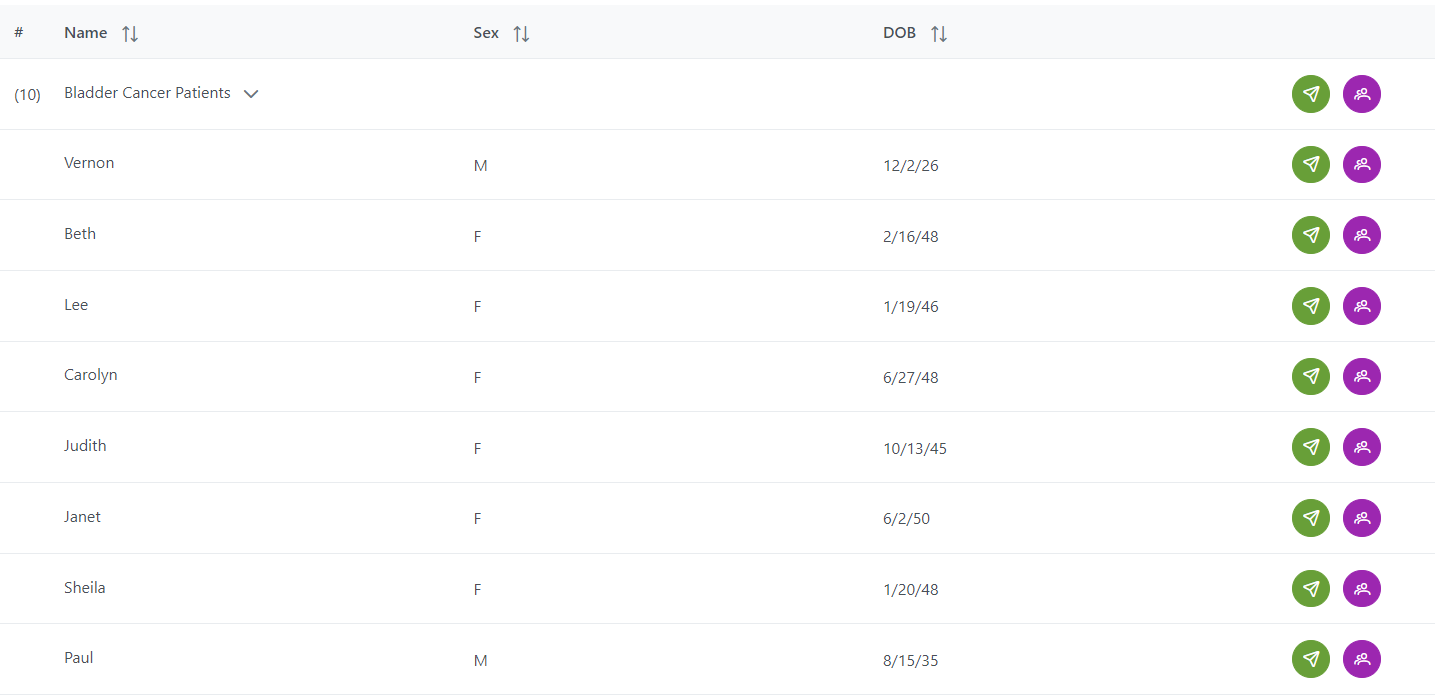
- Click on the “v” icon next to the folder name to hide the items again.

ADMIN: View Who Has Access to a Folder or Item
NOTE: User must be granted administrator access before this option is available.
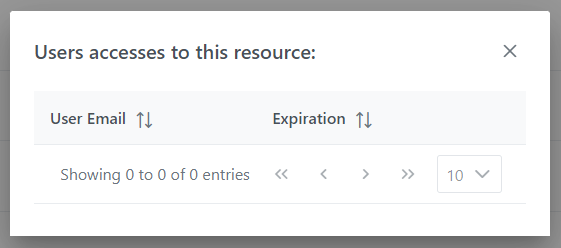
- Click on the purple “people” icon next to the resource you want to view the list of accesses for.

- A list of user email addresses with access to that resource will appear, along with their access expiration date.
Patient Folders
Send Invitation to View a Resource
Note: you may send an invitation for either a folder or an individual item.
- Click on the green “paper airplane” icon next to the resource you want to share.

- Enter the name of the person you’re granting access, the identity provider (e.g. Google) they are using to log in, and their email address.
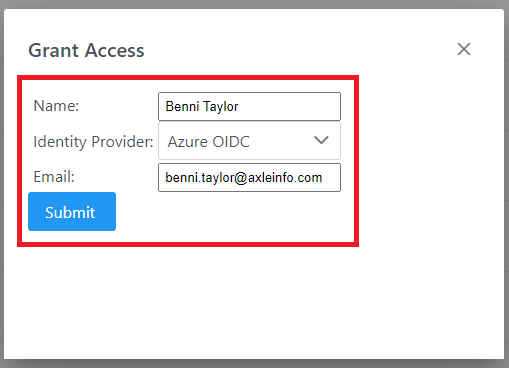
- The person you’re granting access will receive an email inviting them to view the resource.
Study Folders
Icons Key
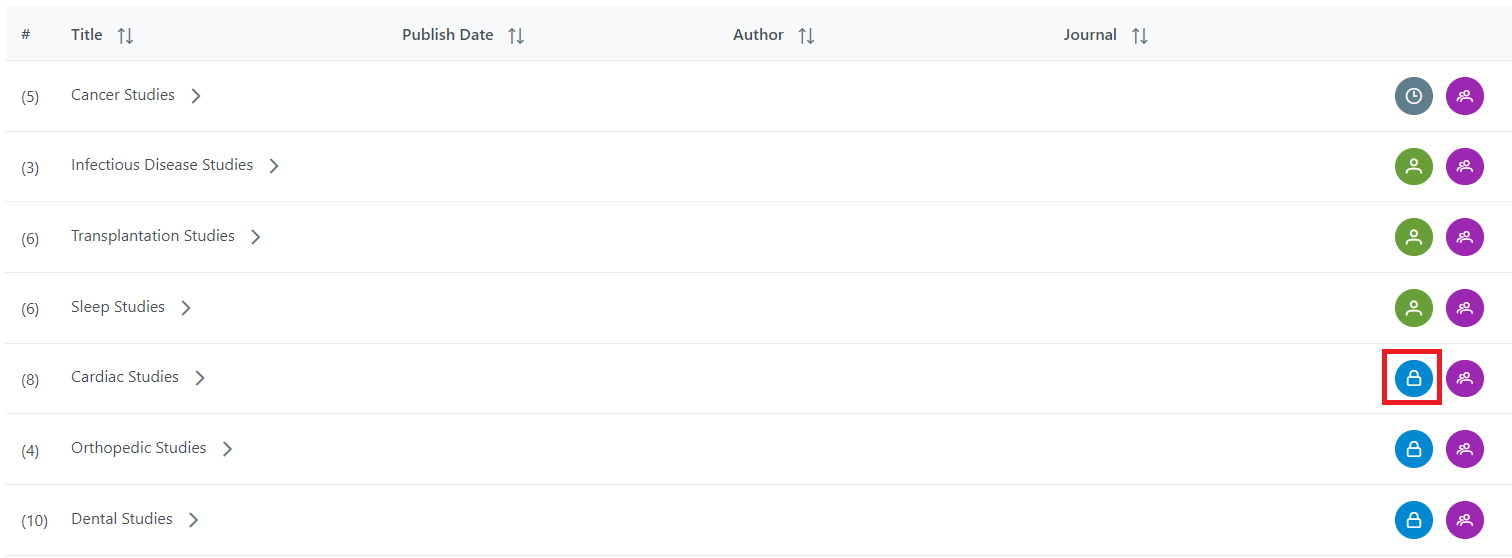
 Blue “lock” icon: no access/request access
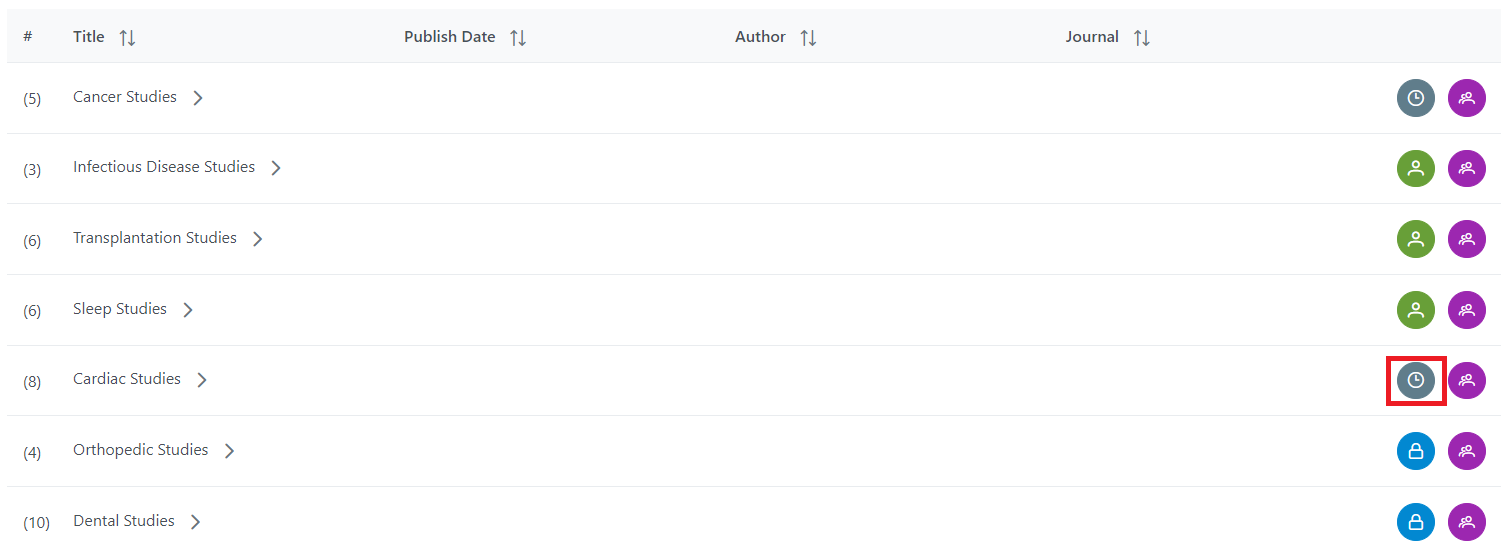
 Gray “clock” icon: access request pending
 Green “person” icon: folder access granted
 Green “book” icon: item access granted/view item
Request Access to a Resource
Note: you may request access to either a folder or an individual item.
- Click on the blue “lock” icon next to the resource you want to request access to.
- Click “Yes” in the dialog box to confirm your request. (You can also press “No” to exit.)

- The blue “lock” icon will change into a gray “clock” icon, and a dialog confirmation will show that your request is pending.
View a Resource
- Click on the green “person” icon next to the resource you want to view.
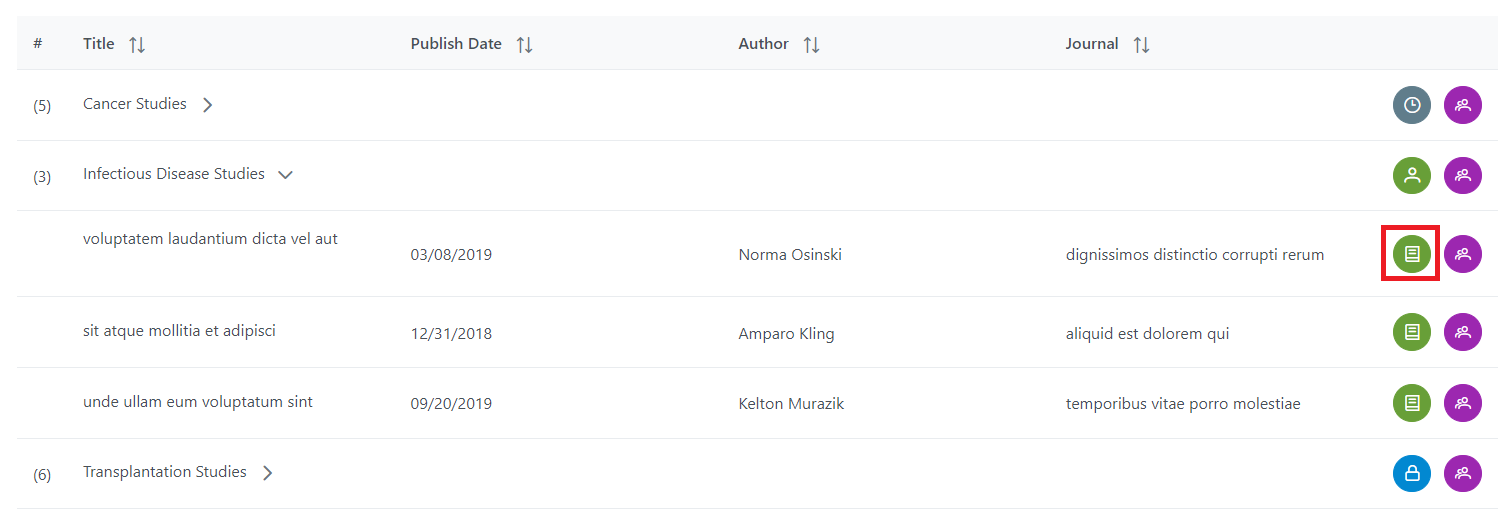
- The resource details will appear. Click the x in the upper-right corner of the dialog to exit.

My Invitations
My Invitations Key

- Sent By: user who sent the invitation
- Sent To: user who received the invitation
- Request Description: the resource the user was invited to view
- Invitation Date: the date the invitation was sent to the user
- Status: whether the user has accepted or rejected the invitation, or if it is still pending
View Invitations Sent to Me
- In the “filter” drop-down, select “sent to me”.
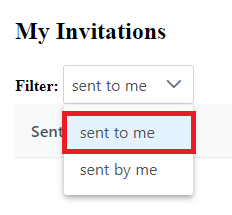
- The page will show all of the invitations that other people have sent to you.
View Invitations Sent by Me
- In the “filter” drop-down, select “sent by me”.
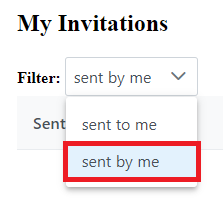
- The page will show all of the invitations that you have sent to other people.
My Requests
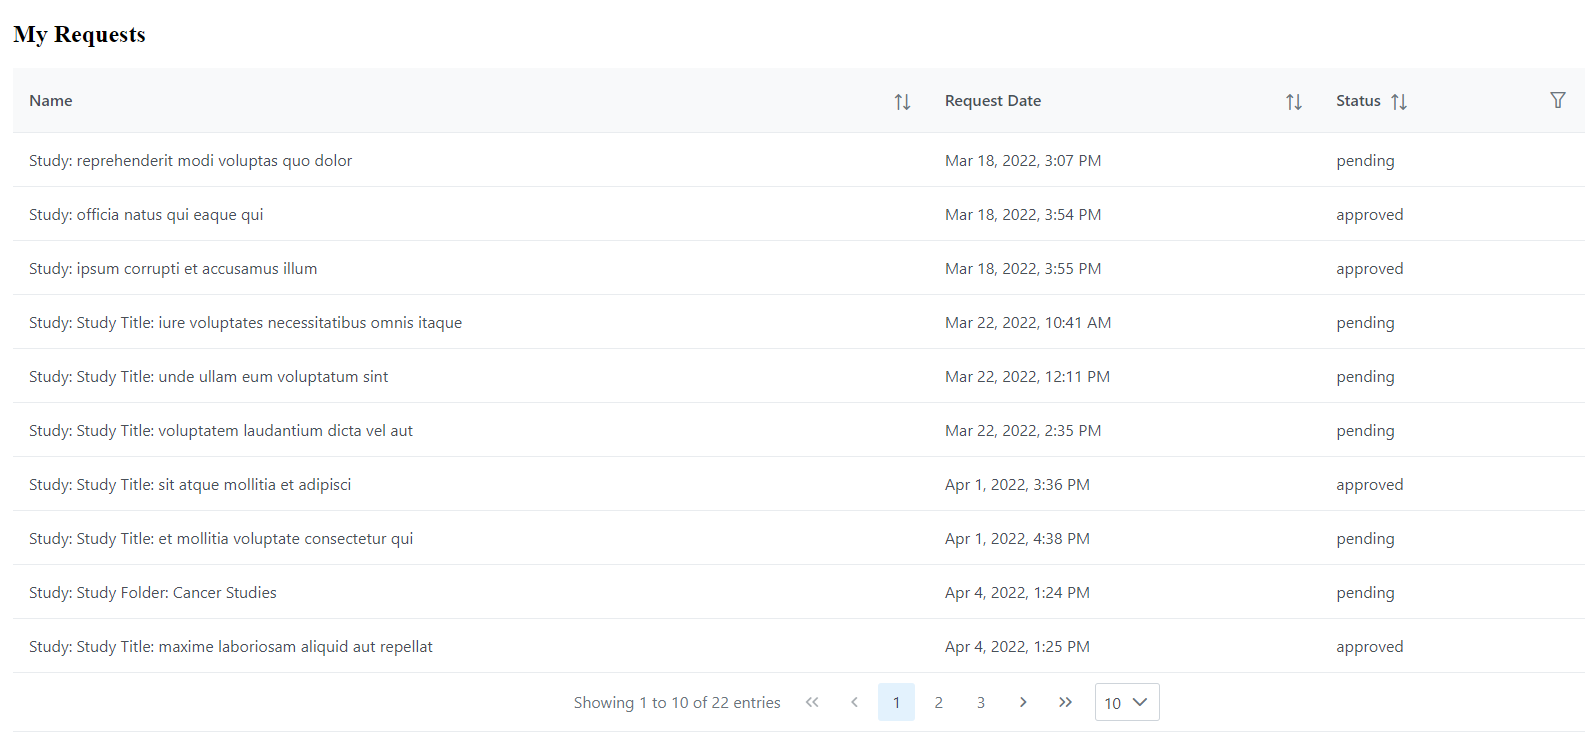
My Requests Key

- Name: the name of the requested resource
- Request Date: the date the request was made
- Status: shows whether the request has been approved or rejected, or if it is still pending
View Requests Sent by Me
- The page will show all of the requests that you have made to view resources.
ADMIN: Manage Requests
NOTE: User must be granted administrator access before this page is available.
Manage Requests Key

- Requestor ID: the ID of the user who requested access to a resource
- Resource Name: The name of the resource being requested
- Request Date: the date the request was made
- Status: shows whether a resource is still pending
Accept a Request
- Click on the green “checkmark” icon next to the request you want to accept.
![A green “checkmark” icon on the right-hand side of the screen, corresponding to a request, inside of a red box.]images/umrs/ManageRequests_Accept.png)
- The user will receive an email that their request was accepted.
Reject a Request
- Click on the purple “x” icon next to the request you want to reject.

- The user will receive an email that their request was rejected.